It has been so long since I blogged I hardly know where to start!
But here goes...
For years I had been wanting to renovate my mini bakery into a more French looking building.
I had always wanted to build a mansard roof with an attic bedroom in it like the one in Lea Frisoni's book
'Le Grand Livre de la Maison Miniature'.
Here's an old pic of the bakery.
The roof was just a waste of space as it didn't open up and that had always annoyed me. It was the first dollhouse I ever built and as there's not much room in the real house for more dollhouses I ususally just renovate the ones I have.
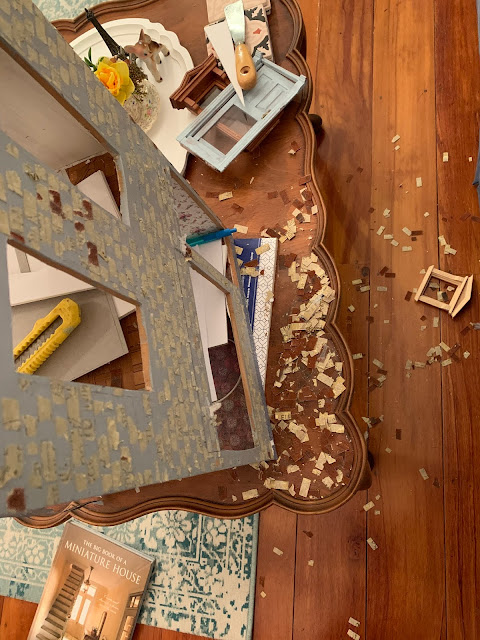
Scraping the old sandpaper bricks off was a bit of a trial...until I got my hubby to help.
No turning back at this point!
I have Lea's book in French. My dear friend Sylvia sent it to me many years ago. Whenever I'm looking for motivation or inspiration I flip through it...I love that book! I can understand a very little bit of French and I thought if was going to try and build the mansard roof I might need the English version of the book.
I managed to get it from the library...and just in time too...because a week later, in March 2020 the whole of
New Zealand went into lockdown due to Covid 19.
Which for me meant seven weeks of no work!
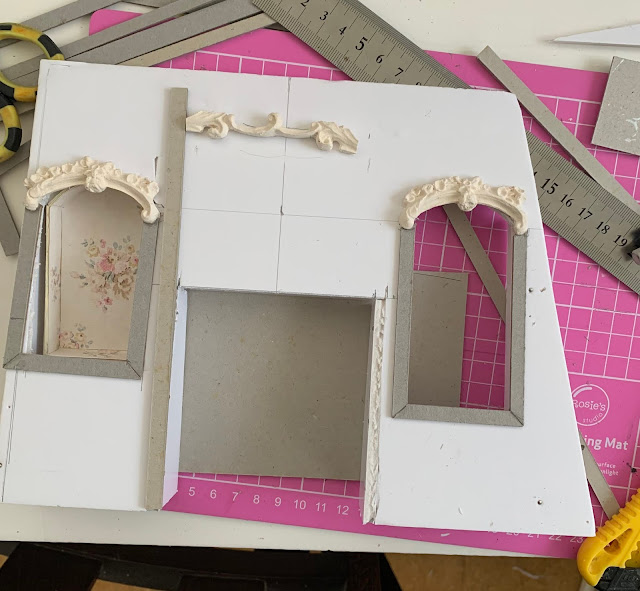
I used foamboard to make my mansard roof. I wasn't sure the old Victorian windows were particularly French but I did a bit of research on the internet and did see a few French buildings with similar windows. I'm all for recycling and doing what I can with what I have. Fortunately I had the attic window in my stash of stuff...I like stuff and I have a lot of it.
I was texting with my mini making friend from the other side of the world Kim Saulter -
Kim's Mini Bakery - throughout the build.
Above is a pic I sent her when I was figuring out the layout.
The bakery will still be on the ground floor with a maisonnette (if that's the right word for it) on the two floors above.
The part I really love in Lea's house is the shelves and cupboard in the mansard roof wall.
My house is a lot smaller than Lea's so I had to adapt the instructions to fit my needs.
Because I needed to fit a bathroom in the rooftop I had to create a small recess in this wall so there would be enough room for a bed. I've tried to make it look like there was once a fireplace there.
Love it when the painting and aging is done...feels like real progress!
I already had that wallpaper...it's some vintage real house wallpaper!
The floor was tricky as I don't have very much wood lying around these days. I found a couple of very warped pieces of wood and as I didn't need very long strips I was able to cut just enough floorboards to fit the bedroom.
I know those floorboards don't match up but fortunately the bed will cover that!
Floor done!
And just like that the attic bedroom is built!
It was a bit tricky getting the walls to fit together - I might not be that good at measuring.
The roof isn't attached yet because I'm still working on the wiring.
Now to fill the room, although once the bed is in there won't be much space.
And here's the bed I made. It's just beads and wire.
And a couple of vintage handkerchiefs for bedding.
The first four weeks of lockdown was called Level 4 which meant everything was closed, only essential services were open. The next three weeks after that was Level 3. Which meant cafe's could open for contactless pick up...which is when I discovered the 'Cakery' a few minutes walk from my house had the most divine cinnamon rolls.
All I had to do was text them with my order then walk around the corner and collect - too easy!
I hope this post isn't too long.
I almost think I know what I'm doing again!
All the photos have been taken on my phone so I hope they look OK on your screens.
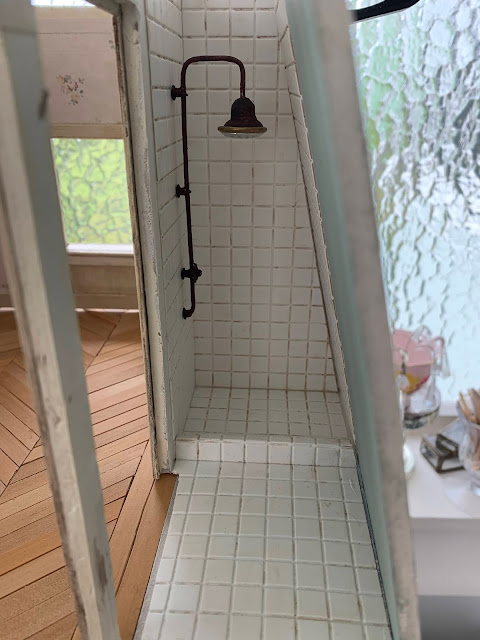
Next post the bathroom (almost done!) and then there's the middle floor which is almost done but proving tricky to fit everything in and the exterior is coming along nicely...so more to come soon!
